On this page
Borrow technology
Title
Enter the name of the piece of lendable technology in Title. Format the title in sentence case, meaning only the first word and proper nouns are capitalized.
Body
Enter a description of the item in Body.
Request type
There are three request types. Select one type:
- If the item is reservable online, select Booking.
- If users can place a hold on the item, select Hold.
- If the item isn’t reservable online, select Not reservable online.
Featured
Check the Featured box if you’d like to include the item in the featured section of the “Borrow technology” landing page. If not, keep blank.
Who can borrow
Who can borrow shows who is eligible to borrow the item. Select all that apply.
Borrow for
Select the item’s loan period from the drop down menu.
Images
All tech item pages include an image. If no image of the item is available, a default image will automatically be displayed.
Add a new image
Go to Add a New Image > Select the light grey Choose File button.
Select an image from your computer to upload. After you upload the correct image, be sure to:
- Add alternative text that explains what the image contains and looks like for users who use screen readers or other assistive technology to access our web content. Here’s a helpful guide to writing effective alternative (alt) text.
- Select an image background color. The image background color will display behind the item’s image. See our item images documentation for background color recommendations. If you’re using an image provided by UAL MarComm, select “N/A” as the background color.
- If using an image from a manufacturer, add the name of the manufacturer in the Image credit field to meet copyright requirements.
Replace an image
Replace an image by selecting the light grey Remove button and selecting a new image from your computer to upload. See our item images documentation for image size, format, and credit requirements.
Category
Select one or more categories to organize the tech item in its correct group(s). A category is a group of lendable tech items with similar functionalities.
Check out from (location)
If an item is reservable online:
- Select the location where the user can pickup the item from the dropdown menu.
- Add the item’s MMS record number and item ID to make the item reservable in Alma. Be careful not to delete the MMS record number or item ID. This will break the reservation process, and users will not be able to complete their reservation.
To add a location:
- Select the light grey Add Location button on the bottom left corner of the block.
To remove a location:
- Select the light grey Remove button in the top right corner of the location block you’d like to remove.
You can reorder the locations by grabbing the two-arrows icon (see below) on the left side of the location block and dragging the location block before or after the other location(s).

Hidden search tags
Add key terms that users might enter into the borrow technology search box to find this item.
Save
Select the blue Save button to save your changes. Make sure the Published box is checked if your changes are ready to go live.
Rooms & spaces
Create room or space page
Only content administrators can create new room or spaces pages. Reach out to Aly or Bob for help with creating a new page.
For content administrators, all “Rooms & spaces” pages start with the URL path: /study/spaces/*.
Edit the “Rooms & spaces” landing page
Intro text
Content managers can edit the intro content on the “Rooms & spaces” landing page. To edit the intro content, select Edit above the page title. Then, select Edit in the top right corner of the first block of the page. Use the text editor to make changes.
Categories and category descriptions
To move a room to a new category (i.e. reservable, available by request, walk-in, lockers), go the page of the room you’d like to move, select Edit, and assign the room a new category under Ability to reserve.
Content administrators can edit the descriptions for each category of rooms. Contact Aly or Bob for help making changes.
Edit a room or space page
Title
Add the name of the room or space. Format the title in sentence case.
About this space
Add a description of the space, including its purpose and what you can do in it.
Ability to reserve
Some spaces are reservable online, others by request, and some are walk in only. Select which type of space it is. Your selection will also make the room show up in the correct category on the “Rooms & spaces” landing page.
Reservation or request link
If the space is reservable online or is available by request, add the link to the LibCal reservation page or webform application. Keep this field blank if it’s a walk-in space.
For reservable spaces, the link should be called “Reserve online.” For spaces available by request, the link should be called “Request to use.”
Who can access this space
There are 3 options you can select for who can access the space: students, faculty and staff, and community members. Select all that apply. What you select will show up on the space page and as a tag on the space card on the “Rooms & spaces” landing page.
There is also the option to add a custom audience in the text box beneath the 3 pre-determined options. If it is a University of Arizona audience, add “University of Arizona” at the beginning of your description to make the formatting consistent with the pre-determined audience groups.
Capacity
Add the number of people who can fit in the space. Format as a number, e.g. 1, 3, 5. If it’s a range, format it with a hyphen in between the low and high numbers, e.g. 2-10.
Technology
List what equipment is available in the space. List technology items separated by commas.
Located at
Select which library or libraries the space is located in.
Room number
If available, add a room number.
Image
Add an image that shows what the space looks like. Remember to add alt text to the image when you upload it to ensure it’s accessible.
Save
Select Save to save and publish your changes.
CATalyst Studios
These guidelines reference adding headings to structure your content. To learn more about headings and how to add them, check out our Headings guidelines.
Equipment pages
Each piece of equipment at CATalyst has its own page. Some equipment pages include multiple models or versions of the same type of equipment. For example, the cricut machine is listed on the “Vinyl cutters” page since it is a type of vinyl cutter.
Each equipment page should include the following headers:
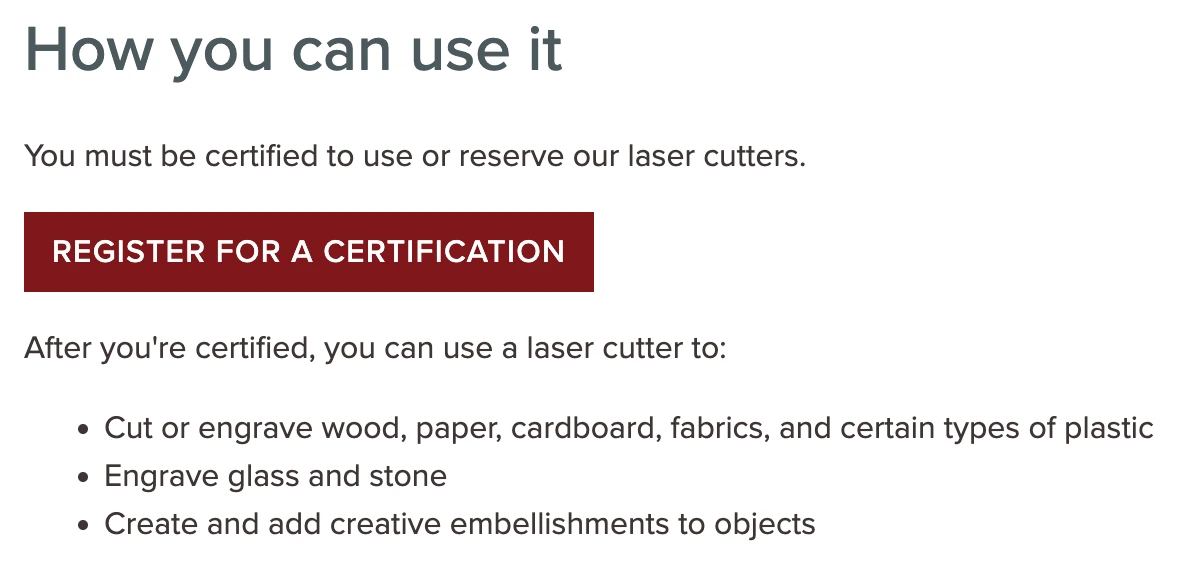
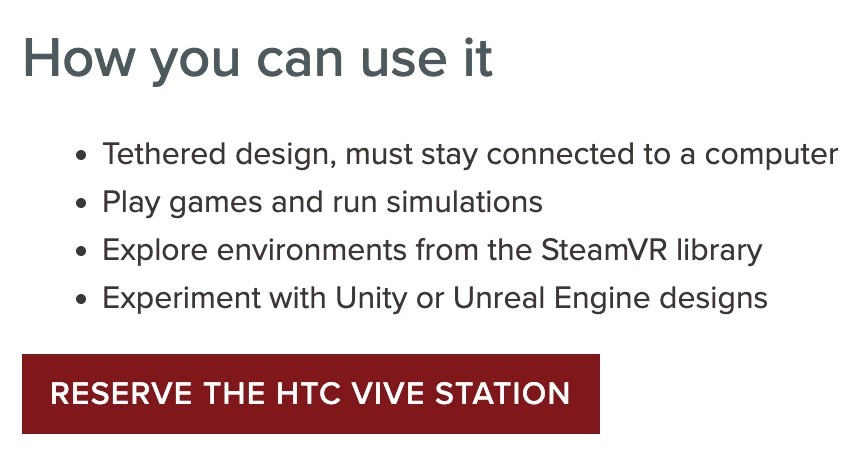
How you can use it (H2)
A quick description of what you can do with the equipment in 3-5 short sentences or a few bullet points. Use plain language that is accessible for users new to the equipment.
For equipment that requires certification to use, state that certification is required before you list what you can do with the equipment. Add a red button to link to the list of certifications on LibCal. Review Links & buttons for more instructions.
If there is a certification available but it’s not required to use the equipment, you can add the button with a link to the certifications on LibCal after the list of what you can do with the equipment.
If the equipment is reservable, add a red button to link to the reservation page in LibCal after the description of what you can do with the equipment.
Fees (H2) optional
If it costs to use the equipment or its materials, add a “Fees” section and link to the fees page.
Tutorials & instructional videos (H2) optional
Add links to tutorial or instructional videos, if applicable. For videos, it’s helpful to start the link name with the word “Video” to explain to users what they can expect when they click on that link. Clearly name the link to describe what the user will learn when they visit that resource.
Example:
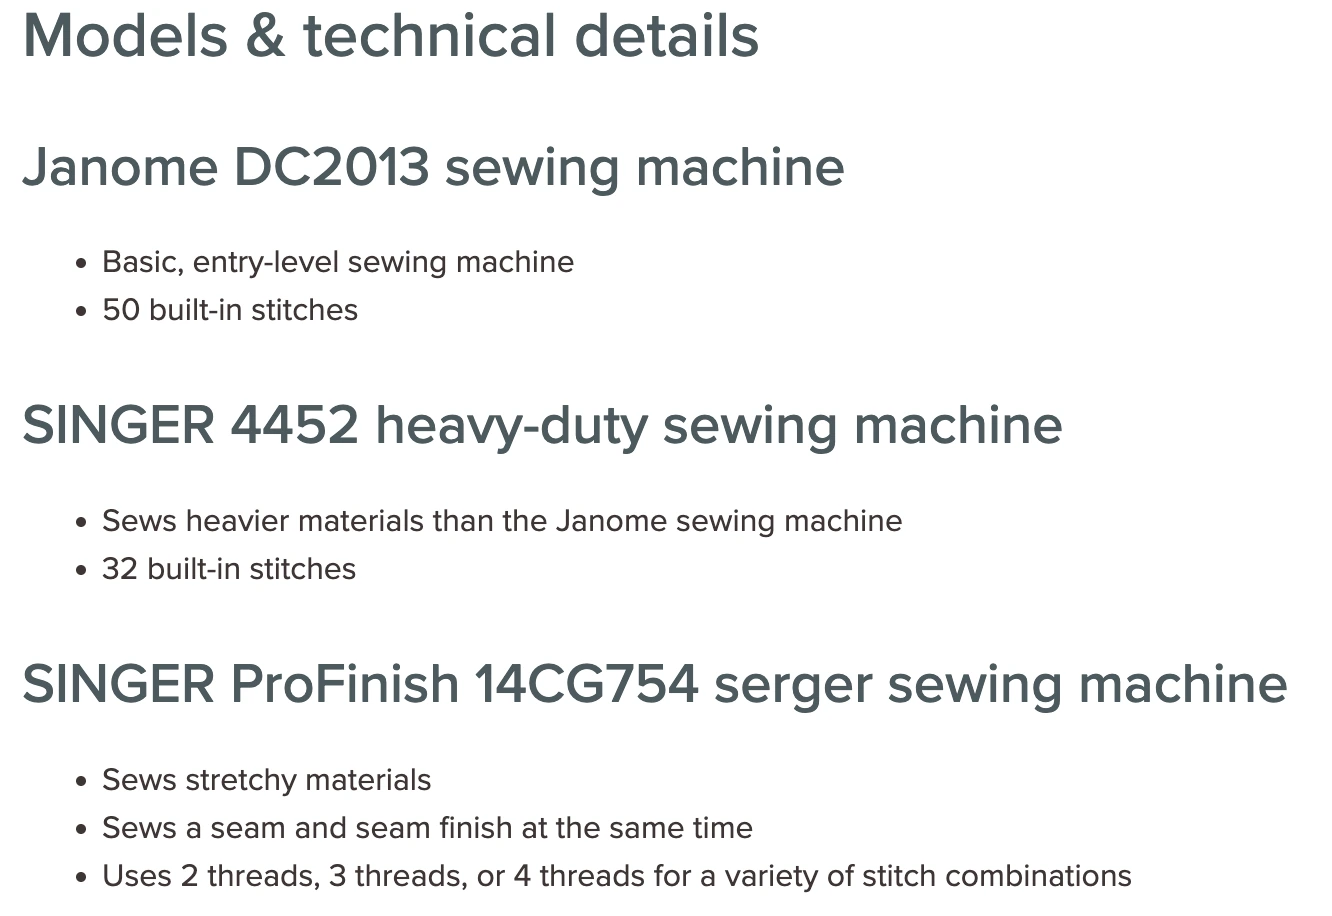
Technical details OR Models & technical details (H2)
This section describes the technical specifications and other important details about the equipment.
Use abbreviations for measurements:
- in
- ft
- mm
- cm
If there aren’t multiple models or versions of the equipment, simply name this section “Technical details.”
If a piece of equipment has multiple models, name this section “Models & technical details.” Include the name of the model as an H3 header underneath, followed by that model’s technical details.
Spaces pages
There is a page for each space in CATalyst. Each space page has the following headings:
Location (H2)
Main Library, [room number]
Who can use it? (H2)
Explain whether the space is open to UA students, faculty, or staff only, or if community members can use the space.
What can I do there? (H2)
A description of tasks and projects users can work on in that space.
Space details (H2)
A list of important space details, including room capacity, what tables and chairs are available, and other technology.